
What Is Peanut Butter Spider Cookies?
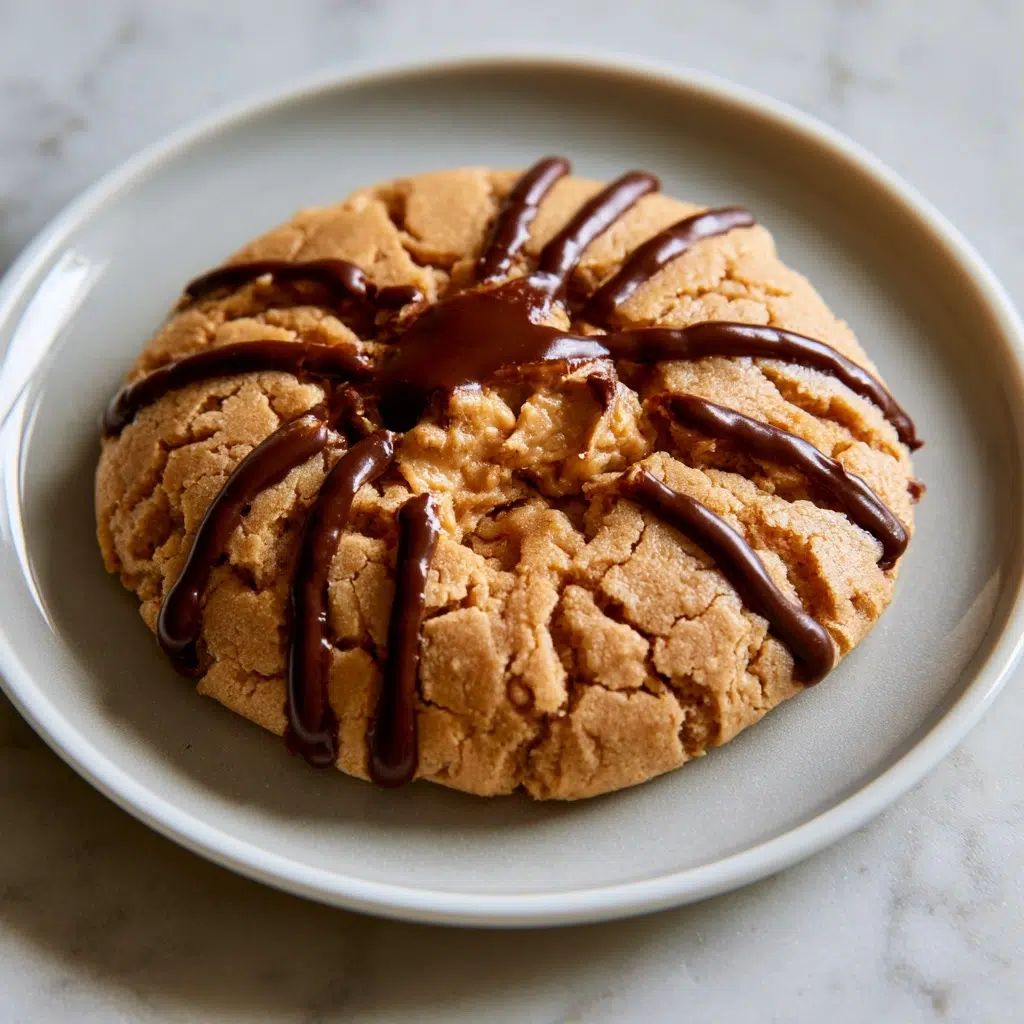
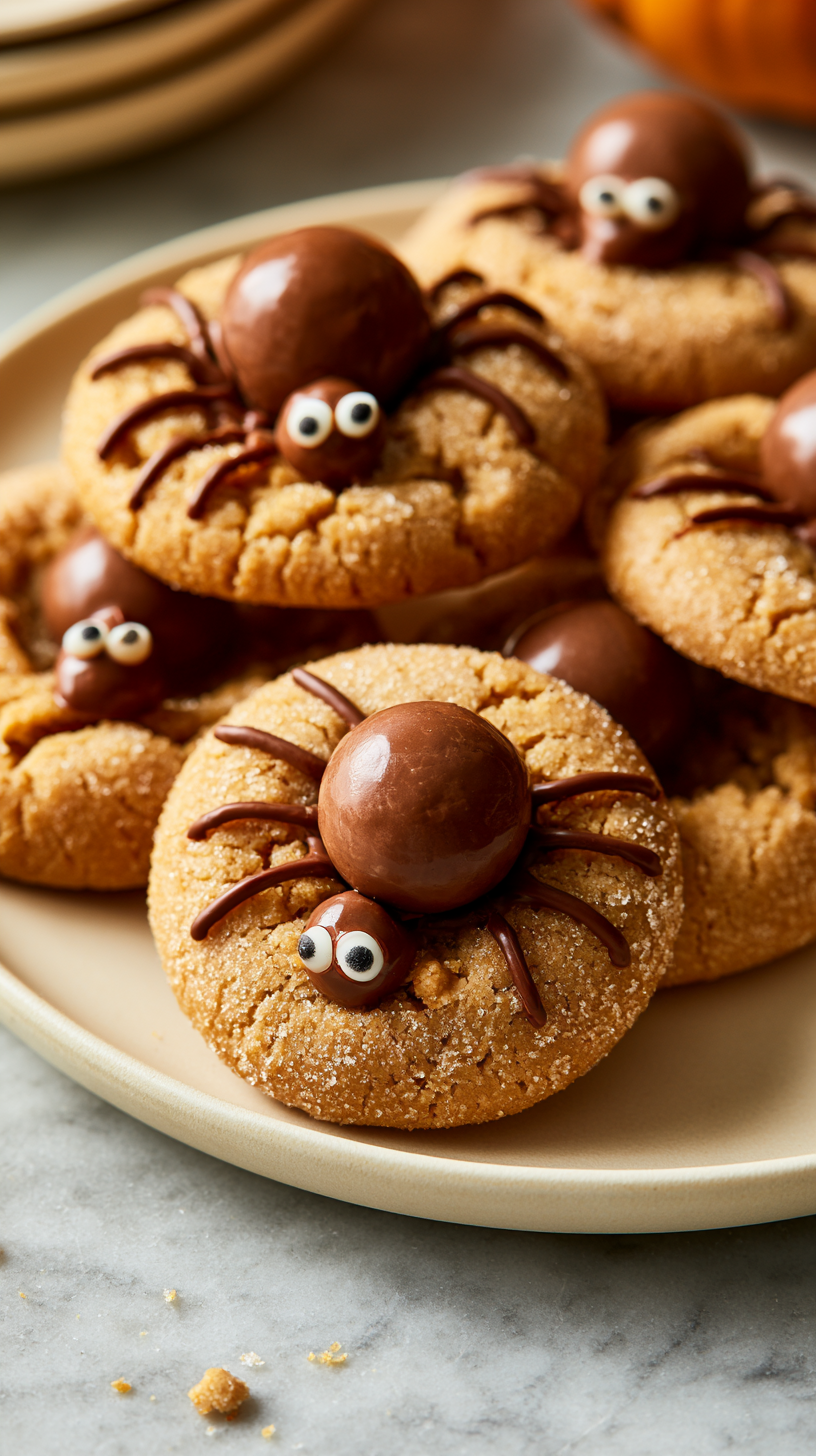
Peanut butter spider cookies are a whimsical, festive dessert featuring chewy, nut-butter-infused dough shaped into a seasonal arachnid form. These treats combine the rich, savory profile of classic peanut butter cookies with the crunchy texture of chocolate-coated malted milk balls. Popular during Halloween and themed parties, these cookies appeal to both children and adults due to their playful appearance and balanced flavor profile. Unlike standard drop cookies, this recipe utilizes specific structural techniques to ensure the candy bodies remain secure while the dough maintains its signature crackled surface. They offer a sophisticated take on holiday novelty snacks, delivering a professional bakery aesthetic with straightforward kitchen methods.
Why You’ll Love This Recipe
Effortless Preparation: This recipe streamlines the assembly process, making it approachable for novice bakers.
Foolproof Results: The dough consistency is specifically calibrated to hold its shape, ensuring consistent success every time.
Crowd-Pleasing Flavor: The combination of creamy peanut butter and sweet chocolate creates a universally liked taste.
Time-Saving Technique: Strategic chilling and assembly steps minimize active hands-on time, allowing for rapid batch production.
These cookies represent an ideal balance of creativity and convenience. They serve as a perfect solution for time-constrained hosts who require an impressive centerpiece dessert. Whether you are hosting a festive gathering or seeking a fun project for children, the simplified steps ensure an stress-free experience.
Why This Recipe Works
In my decade of experience creating seasonal treats, I have found that the secret to a successful spider cookie lies in the dough’s moisture content. By avoiding natural peanut butter, which contains excess oil, and opting for commercial creamy varieties, the fat content remains stable throughout the baking process. This prevents the cookies from spreading too thin, providing a sturdy platform for the heavy malted milk ball bodies.
The science of this recipe relies on the interaction between the baking powder and the sugar-rolling technique. Rolling the dough in granulated sugar before baking facilitates controlled surface cracking, which provides a textured backdrop that visually hides minor assembly imperfections. Furthermore, cooling the cookies to the exact point of warmth where they are still soft allows the candy pieces to embed themselves securely without melting, creating a seamless bond as the cookie firms up.
Sensory-wise, these cookies offer a delightful contrast between the soft, melt-in-your-mouth cookie interior and the sharp, malted crunch of the spider’s body. The rich peanut aroma permeates the room during baking, while the chocolate legs provide a smooth, sweet finish that lingers on the palate. The visual appeal of the white gel eyes against the dark chocolate body ensures these treats stand out at any dessert table.
Pro Tips Before You Start
Room Temperature Ingredients: Ensure your egg and butter reach room temperature for 30 minutes before mixing to achieve proper emulsification.
Mise en Place: Arrange all dry and wet ingredients in separate bowls before beginning to ensure a smooth, uninterrupted assembly process.
Equipment Setup: Use high-quality parchment paper to prevent sticking, as the sugar coating can caramelize quickly if it comes into direct contact with the sheet.
Ingredients
Here’s everything you’ll need to make peanut butter spider cookies.
| Ingredient | Quantity | Notes |
| All-purpose flour | 1.5 cups (190g) | Sift for best results |
| Baking soda | 0.5 tsp | Ensure it is fresh |
| Baking powder | 0.5 tsp | Check expiration |
| Salted butter | 0.5 cup (113g) | Softened |
| Granulated sugar | 0.5 cup (100g) | Plus extra for rolling |
| Brown sugar | 0.5 cup (100g) | Packed |
| Egg | 1 large | Room temp |
| Creamy peanut butter | 0.5 cup (128g) | Avoid natural brands |
| Vanilla extract | 1 tsp | Pure extract preferred |
| Whoppers | 44 pieces | 22 large, 22 small |
| Chocolate chips | 1 cup (170g) | Semi-sweet |
| White decorating gel | 1 tube | For eyes |
Best Ingredients for Peanut Butter Spider Cookies
Choosing the right peanut butter is the most critical decision in this recipe. Commercial creamy peanut butter contains stabilizers that prevent the oil from separating, which keeps the dough structurally sound. Using natural peanut butter often results in a greasy dough that spreads uncontrollably. Similarly, using high-quality semi-sweet chocolate chips for the legs ensures a smooth, glossy finish that does not seize when piped. For the malted milk balls, sticking to the standard brand ensures the size remains consistent for the spider bodies.
Step-by-Step Instructions
Phase 1: Prepare the Base
Preheat your oven to 375°F (190°C) and line two large baking sheets with parchment paper for easy cleanup.
Whisk together the flour, baking soda, and baking powder in a medium bowl until thoroughly combined and set aside.
Cream the softened butter in a large mixing bowl until smooth, then add both sugars and the peanut butter.
Beat the mixture until light and fluffy, ensuring the sugars are fully integrated into the peanut butter base.
Add the egg and vanilla, mixing until the liquid is fully incorporated and the batter is smooth.
Fold the dry ingredients into the wet mixture, stirring only until just combined to avoid overworking the dough.
Phase 2: Baking and Assembly
Scoop the dough using a 2-tablespoon measure, roll into uniform balls, and coat each thoroughly in extra granulated sugar.
Place the balls on prepared baking sheets and bake for 8-10 minutes until the edges are golden and set.
Remove the cookies from the oven and immediately press one large and one small malted milk ball onto each cookie.
Chill the cookies in the refrigerator for 5-10 minutes until they are cool to the touch and the candy is set.
Phase 3: Decoration
Melt the chocolate chips in the microwave using 30-second intervals, stirring between each, until completely smooth.
Cool the melted chocolate for several minutes before transferring it to a piping bag for leg detailing.
Pipe eight legs onto each spider body, working quickly to maintain a consistent shape.
Dot the eyes onto the malted milk balls using the white decorating gel and finish with a small sprinkle.
Chef Tips for Perfect Results
Cooling Interval: Ensure the cookies are cool enough to hold the candy bodies without melting the chocolate exterior.
Consistent Sizing: Use a spring-loaded cookie scoop to ensure every spider is the same size for a professional presentation.
Piping Technique: If the chocolate gets too firm, re-microwave for 5-10 seconds to restore flow.
Common Mistakes to Avoid
Overbaking: [Result] Dry, crumbly cookies | [Why] Residual heat continues cooking | [Fix] Pull from oven while center is slightly soft.
Overmixing: [Result] Tough texture | [Why] Gluten strands overdevelop | [Fix] Use a gentle hand-folding technique.
How to Make This Recipe Healthier
All-purpose flour → White whole wheat flour: Adds fiber and nuttiness with minimal impact on texture.
Granulated sugar → Coconut sugar: Offers a lower glycemic index and a deep caramel flavor note.
Variations and Substitutions
| Ingredient | Substitution | Flavor Impact | Texture Impact |
| Whoppers | Chocolate truffles | Rich/Creamy | Softer |
| Peanut butter | Almond butter | Earthier | Similar |
Can You Make This Ahead?
Yes. You can prepare the dough up to 2 days in advance by wrapping it tightly in plastic wrap and storing it in the refrigerator. For best results, assemble the spider decorations on the day of serving to ensure the chocolate legs remain crisp and the eyes stay bright.
Serving Suggestions and Pairings
Serve these cookies alongside a glass of cold almond milk or a warm cup of spiced cider. They are perfect for dessert buffets at parties or tucked into lunchboxes for a seasonal surprise.
Storage and Reheating
| Method | Duration | Instructions |
| Airtight Container | 4 days | Keep at room temperature in a cool place. |
| Freezer | 3 months | Freeze plain cookies and decorate after thawing. |
Nutritional Information
Approximate nutritional values per serving:
| Nutrient | Amount |
| Calories | 185 |
| Protein | 3g |
| Fat | 9g |
| Carbohydrates | 24g |
Conclusion
These peanut butter spider cookies deliver an excellent balance of fun and flavor, making them a staple for seasonal celebrations. The simple process ensures that anyone can achieve bakery-quality results with minimal effort. You will discover that the combination of chewy cookie and crunchy candy satisfies every sweet tooth.
We encourage you to share this recipe with your friends and family for your next gathering. These treats offer a delightful payoff that transforms a standard cookie into an unforgettable festive centerpiece.
FAQ
Can I substitute creamy peanut butter with crunchy peanut butter?
Yes, you can substitute crunchy peanut butter, though it will result in a slightly different texture for the cookie base. The peanut pieces will add extra crunch to the cookie interior without affecting the structural integrity of the spider body.
How do I know when these cookies are done?
The cookies are done when the edges appear set and lightly golden brown, but the centers remain soft and slightly puffy. They will finish setting as they cool on the baking sheet for the recommended few minutes.
What should I do if the chocolate legs look messy?
If your piping is messy, simply allow the chocolate to harden completely before attempting to scrape it off carefully with a knife. You can then re-pipe the legs once the surface is smooth and the cookie is fully chilled.
Can I make these the day before?
Yes, these cookies hold up very well when stored in an airtight container for up to 4 days. If you prefer the absolute freshest experience, bake the cookies a day ahead and apply the chocolate legs and eyes just before your event.
Print
Easy Peanut Butter Spider Cookies
- Total Time: 40
- Yield: 24 cookies
- Diet: Vegetarian
Description
Indulge in these whimsical and festive peanut butter spider cookies, a perfect treat for Halloween or themed gatherings. Combining a chewy, crackled peanut butter cookie base with a crunchy chocolate-coated malted milk ball body, these cookies offer a delightful contrast in texture and a rich flavor profile. Designed for both novice and expert bakers, this recipe ensures foolproof results with a stable, delicious dough that perfectly supports your spider creations, making them the centerpiece of any dessert table.
Ingredients
1/2 cup unsalted butter, softened
1/2 cup creamy peanut butter
1/2 cup granulated sugar, plus extra for rolling
1/2 cup light brown sugar, packed
1 large egg
1 teaspoon vanilla extract
1 1/4 cups all-purpose flour
1/2 teaspoon baking powder
1/4 teaspoon salt
24 chocolate-coated malted milk balls
48 small candy eyes
1/4 cup semi-sweet chocolate chips, melted for piping
Instructions
Preheat your oven to 350°F (175°C) and line a baking sheet with parchment paper.
In a large bowl, cream together the softened butter, creamy peanut butter, granulated sugar, and brown sugar until smooth.
Beat in the egg and vanilla extract until well combined.
In a separate bowl, whisk together the flour, baking powder, and salt.
Gradually add the dry ingredients to the wet mixture, stirring until a dough forms.
Roll the dough into 1-inch balls and coat them in additional granulated sugar.
Place the balls on the baking sheet and bake for 10-12 minutes until the edges are set and tops are cracked.
Immediately upon removing from the oven, gently press one malted milk ball into the center of each cookie.
Allow the cookies to cool for 5 minutes, then use the melted chocolate to pipe eight legs onto each side of the malted milk ball body.
Attach two candy eyes to the front of each chocolate ball using a small dab of melted chocolate.
Let the cookies cool completely on a wire rack to set the chocolate.
Notes
Use commercial creamy peanut butter rather than natural varieties to ensure the dough maintains its shape during baking. Ensure the oven is fully preheated for proper cracking. If the malted milk balls are too large, they can be halved or replaced with round chocolate truffles.
- Prep Time: 20
- Cook Time: 12
- Category: Breakfast
- Method: Baking
- Cuisine: American