
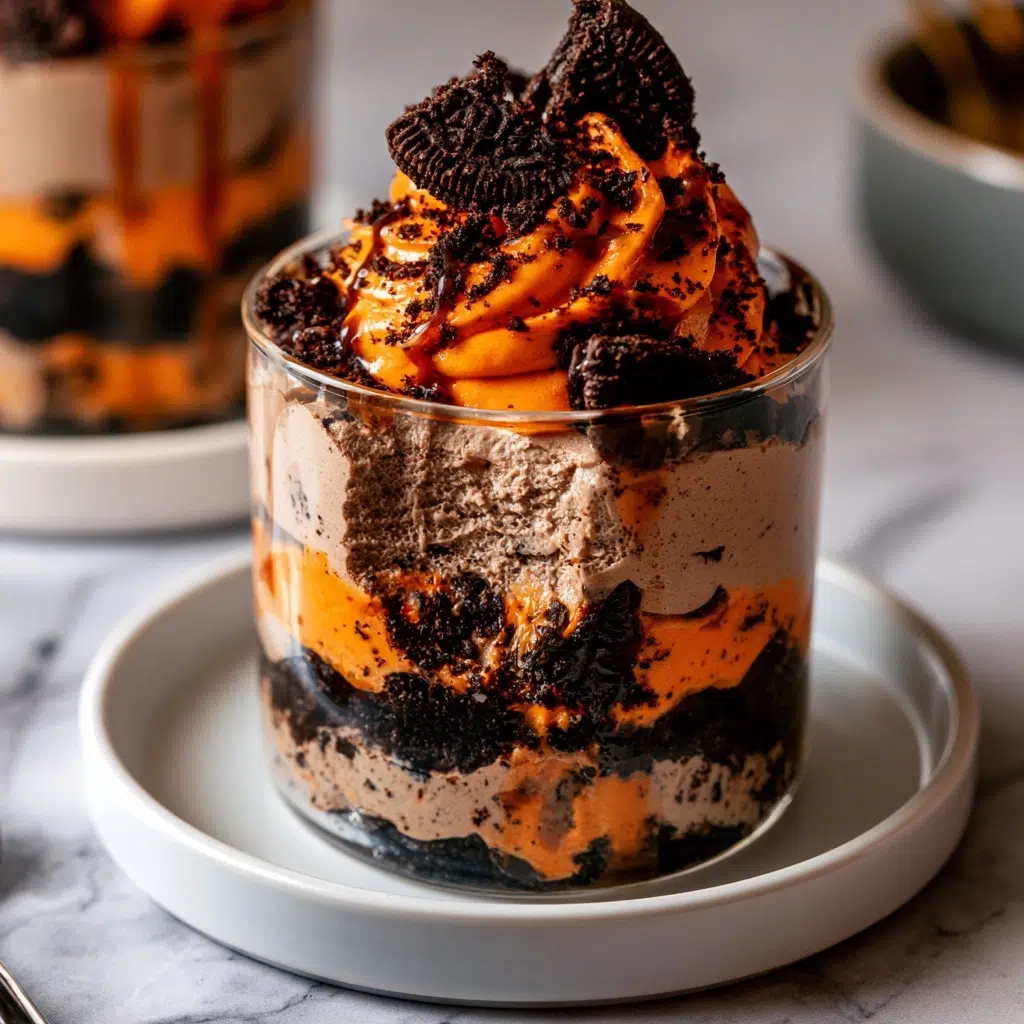
Halloween Oreo Dirt Cake: The Perfect Festive Treat
Halloween Oreo Dirt Cake provides a decadent, high-impact dessert solution for holiday parties, school events, or cozy family nights. This layered masterpiece combines crisp chocolate cookies with a smooth, vibrant orange pudding filling to create a contrast in both color and texture. Because this recipe requires no baking, it serves as an accessible project for home cooks looking to provide a crowd-pleasing, themed confection. The richness of the cream cheese base balances the sweetness of the cookies, ensuring every spoonful delivers a satisfying, velvety experience that leaves guests asking for the recipe. Making this dessert ahead of time actually improves the consistency, allowing the components to meld into a stable, sliceable delight that anchors any seasonal table.
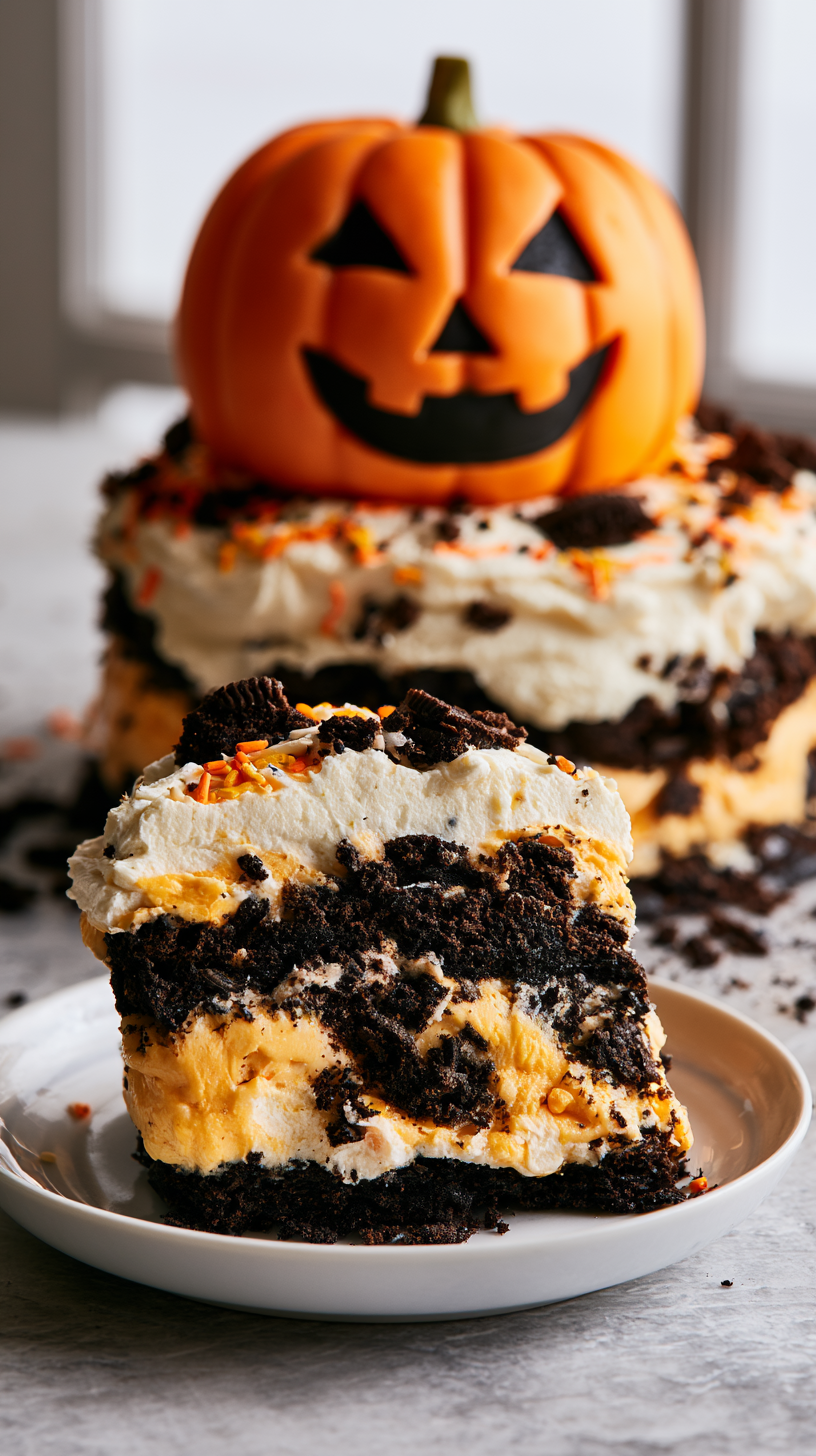
What Is Halloween Oreo Dirt Cake?
Halloween Oreo Dirt Cake is a structured, chilled dessert consisting of alternating layers of finely crushed chocolate sandwich cookies and a sweetened cream cheese-pudding mixture. While traditional dirt cake recipes often rely on standard pudding, this version incorporates a festive orange hue and the classic crunch of seasonal cookies to honor the holiday aesthetic. Unlike heavy cakes or baked pastries, this dessert remains light yet indulgent, utilizing the moisture from the pudding to soften the cookie crumbles slightly while retaining enough structure for perfect layering. It functions as a visual centerpiece, mimicking the appearance of dirt while providing a sophisticated flavor profile that appeals to both children and adults.
Recipe Overview
| Prep Time | 20 minutes |
| Cook Time | 0 minutes |
| Total Time | 2 hours 20 minutes |
| Servings | 12 |
| Difficulty Level | Easy |
| Cuisine | American |
| Calories per Serving | 410 kcal |
Why You’ll Love This Recipe
Effortless Preparation: No baking required makes this a stress-free addition to any busy holiday schedule.
Crowd-Pleasing Aesthetic: The striking contrast between dark cookie crumbles and bright orange filling creates an instant conversation piece.
Foolproof Scaling: The assembly method is forgiving, allowing you to adjust layers based on your preferred dish size or shape.
Time-Saving Logistics: Because the flavor develops during chilling, you can prepare the entire assembly up to 24 hours in advance.
This recipe provides a reliable way to create a themed treat without requiring advanced culinary training. Its ability to satisfy a large group makes it an ideal selection for potlucks and holiday gatherings. By following simple mixing techniques, you ensure a consistent result that looks professional every time.
Why This Recipe Works
My experience with this dessert stems from years of preparing it for seasonal gatherings where quick, high-impact dishes are essential. The secret lies in the interaction between the lipids in the cream cheese and the starch in the instant pudding. By whisking the pudding until smooth before chilling, you prevent graininess, while the cream cheese provides a stable foundation that keeps the layers from bleeding into one another.
Technically, the use of a food processor for the cookies is vital. By creating two textures one fine, one chunky you ensure that the final dish has a complex mouthfeel. The fine crumbles absorb just enough moisture from the pudding to become cake-like, while the larger chunks provide necessary textural contrast. Emulsifying the softened butter and cream cheese with the powdered sugar creates a base that resists weeping, ensuring the cake remains visually appealing even after several hours of service.
The sensory payoff is driven by the balance of bitter cocoa notes from the cookies and the tangy, creamy sweetness of the orange-tinted filling. Because the ingredients are chilled, the fats remain firm, delivering a clean, refreshing finish that isn’t cloying. The vibrant color adds an essential visual excitement, turning basic pantry staples into a festive, professional-grade dessert.
Pro Tips Before You Start
Room Temperature Dairy: Soften the cream cheese and butter for at least 30 minutes to ensure a smooth, lump-free filling.
Mise en Place: Measure all ingredients before beginning to ensure the assembly process remains uninterrupted.
Food Processor Control: Pulse the cookies in batches to maintain control over the texture, as over-processing turns them into a fine paste.
Ingredients
Here’s everything you’ll need to make this Halloween Oreo Dirt Cake:
| Ingredient | Quantity | Notes/Alternatives |
| Halloween Oreos | 20 oz (1.5 packages) | Use standard if seasonal unavailable |
| Instant Vanilla Pudding | 2 packs (3.4 oz each) | Ensure they are instant, not cook-and-serve |
| Whole Milk | 3 1/4 cups | Use full-fat for best stability |
| Cream Cheese | 8 oz | Softened to room temperature |
| Unsalted Butter | 1/2 cup | Softened |
| Powdered Sugar | 1 cup | Sift to remove lumps |
| Vanilla Extract | 1 tsp | Pure extract preferred |
| Cool Whip | 8 oz | Thawed in refrigerator |
| Orange Food Coloring | To reach color | Gel coloring works best |
| Halloween Sprinkles | Optional | Use for final garnish |
Step-by-Step Instructions
Phase 1: Prepare the Cookie Base
Process 3/4 of the Oreos in a food processor until they reach a fine, grain-like consistency.
Transfer the fine crumbs to a medium bowl.
Pulse the remaining Oreos in the food processor until they reach smaller, chunky pieces.
Stir the coarse chunks into the fine crumbs to create a varied texture profile.
Phase 2: Create the Filling
Whisk the milk and instant pudding mix in a large bowl for 2 minutes until smooth and thickened.
Chill the pudding mixture in the refrigerator for 5 minutes.
Beat the softened cream cheese, butter, and powdered sugar in a separate bowl until completely creamy.
Combine the chilled pudding with the cream cheese mixture, beating until fully incorporated.
Fold the thawed whipped topping, vanilla extract, and food coloring into the bowl gently.
Stir until the orange color is uniform, adding more coloring if necessary to reach the desired intensity.
Phase 3: Assembly
Add 1/3 of the Oreo mixture into the bottom of a trifle dish to create a solid foundation.
Ladle 1/2 of the orange pudding mixture over the cookie layer.
Spread the pudding gently with a spatula to ensure an even surface.
Repeat the layering process with another 1/3 of the cookies and the remaining pudding.
Top with the final 1/3 of the cookie mixture.
Decorate with Halloween sprinkles just before serving.
Chef Tips for Perfect Results
Uniform Layers: Use a kitchen scale to divide the cookie crumbs into three equal portions before starting assembly.
Color Saturation: Use gel-based food coloring instead of liquid drops to avoid thinning the consistency of your pudding mixture.
Chilling Duration: Allow at least 2 hours of rest time; this allows the cookies to soften and the flavors to unify properly.
Adding Candies: If using gummy worms or insects, place them just before serving so they remain chewy rather than becoming rubbery.
Common Mistakes to Avoid
Using Cold Dairy: Results in lumpy filling; cream cheese must be at room temperature to emulsify with butter.
Over-whipping the Pudding: Can break the structure of the starch; whisk only until the pudding begins to set.
Ignoring the Resting Time: Results in dry, hard cookie layers; chilling is necessary for the cookie-to-pudding texture transition.
Variations and Substitutions
You can customize your dessert based on dietary preferences or ingredient availability. Use this guide to adjust components:
| Ingredient | Substitution | Impact on Flavor | Impact on Texture |
| Butter | Coconut oil | Subtle tropical note | Slightly softer at room temp |
| Cool Whip | Whipped heavy cream | Rich, dairy-forward | More stable structure |
| Oreos | Gluten-free chocolate wafers | Similar chocolate profile | Slightly denser |
Can You Make This Ahead?
Yes. This recipe is designed to be made in advance. Prepare the entire dessert through the final layering step up to 24 hours before your event. Keep it covered tightly in the refrigerator to prevent the cookies from picking up odors. Add your decorative sprinkles or candies immediately before serving to ensure they stay fresh and maintain their crunch.
Serving Suggestions and Pairings
Serve this dessert chilled, preferably in individual dessert cups or straight from a glass trifle dish to show off the layers. Pair with a hot cup of black coffee or spiced apple cider to offset the sweetness of the pudding. For presentation, place the dish on a platter surrounded by extra festive candies to enhance the Halloween theme.
Conclusion
This Halloween Oreo Dirt Cake delivers a festive experience that balances ease of preparation with professional-looking results. By mastering the simple technique of layering textures and emulsifying the cream cheese filling, you create a dessert that remains the highlight of any table. The combination of chocolate and sweetened cream is a proven favorite, while the vibrant orange hue ensures it fits perfectly into any holiday menu.
You will find that the process becomes second nature after the first attempt, allowing you to focus on creative decorations and sharing the final result with guests. This dessert transforms humble pantry items into a sophisticated, chilled treat that satisfies any sweet tooth. Try this recipe for your next celebration, save it for your annual holiday rotation, and share it with those who appreciate a well-crafted, themed dessert.
FAQ
Can I substitute the Cool Whip with real whipped cream?
Yes, you can substitute it with homemade whipped cream, though you should stabilize it with a small amount of powdered sugar to keep the structure intact.
How do I know when the dirt cake is ready to serve?
The cake is ready once it has chilled for at least two hours, which allows the cookie crumbs to absorb moisture and the pudding to firm up.
What should I do if the filling looks too thin?
Ensure you are using instant pudding mix rather than cook-and-serve, and always use chilled, full-fat milk to assist with the initial set.
Can I make this dessert in smaller individual jars?
Yes, layering the ingredients into small glass jars creates beautiful individual servings that are perfect for larger gatherings or school parties.
Print
Halloween Oreo Dirt Cake
- Total Time: 140
- Yield: 12 servings
- Diet: Vegetarian
Description
Indulge in this vibrant, no-bake Halloween Oreo Dirt Cake, a festive dessert that perfectly balances rich, velvety cream cheese and pudding with a signature chocolate cookie crunch. With its striking orange-tinted filling and dark, earthy cookie layers, this dessert is the ultimate centerpiece for your holiday gatherings. Easy to prepare and even better when made ahead, this crowd-pleasing treat offers a sophisticated flavor profile that appeals to ghosts and ghouls of all ages.
Ingredients
36 chocolate sandwich cookies (Oreos), finely crushed
8 ounces cream cheese, softened
1/2 cup unsalted butter, softened
1 cup powdered sugar
2 packages (3.4 oz each) instant vanilla pudding mix
3 cups cold milk
1 teaspoon orange food coloring gel
12 ounces whipped topping, thawed
Instructions
In a large bowl, cream together the softened cream cheese and butter until smooth.
Add the powdered sugar and mix until fully incorporated.
In a separate bowl, whisk the instant pudding mix with the cold milk until thickened.
Fold the whipped topping into the pudding mixture.
Add the orange food coloring gel to the pudding mixture and stir until a vibrant orange color is achieved.
Combine the cream cheese mixture with the orange pudding mixture, stirring until uniform.
In a trifle dish or deep serving bowl, spread a layer of crushed cookies on the bottom.
Top with a layer of the orange pudding mixture.
Repeat the layers, ending with a final layer of crushed cookie ‘dirt’ on top.
Chill in the refrigerator for at least 2 hours before serving to allow the flavors to meld.
Notes
For an extra spooky touch, garnish the top with gummy worms or candy spiders. Ensure the cream cheese is fully softened to prevent lumps in the filling. The dish can be prepared up to 24 hours in advance, as the texture improves significantly with time.
- Prep Time: 20
- Category: Desserts
- Method: No-bake
- Cuisine: American